- 01: Clean Up and Site Preparation →
- 02: Laying Out the Deck Perimeter →
- 03: Laying Out the Beams and Posts →
So you're ready to get started? Watch our how-to tutorial before you start your build.
Before you begin any DIY project, make sure to wear the appropriate personal safety equipment. Eye protection, ear protection, gloves, long pants, a long-sleeved shirt, and reinforced toe shoes are recommended. Always make sure that you have a first aid kit nearby. For any home project, be certain to follow local code and permitting requirements.
Step 1: Remove Debris from Worksite
Clean the area where you will be building. Rake the ground removing all debris and rocks.
Step 2: Inspect Grade
The grade should slope away from the house. This means that the soil should be highest at the house and slope downs as it gets farther away from the house. This ensures that water will run away from the foundation when it rains. Fill any holes that are close to the house so that water will not build up next to the foundation.
Step 3: Call 811
Before any digging is done, call 811.
Call 811 or go to www.call811.com before any digging is done on the property. When 811 is dialed, it will automatically be connected to a representative from the state's 811 center who will ask some simple questions about the location and details of the digging project. If a request is made online, the same information will be entered into a form. A representative will then come out and locate the public utilities on the property near where the proposed digging will take place.
These utilities include electrical, water, natural gas, communication, and sewer lines. It is required by law to call before digging. If there are private underground utilities, such as propane or a septic system, a private company will need to be called directly to have them locate the underground utilities to their devices.
Step 1: Mark the Perimeter of the Deck
Mark the perimeter of the deck first. Start by measuring and marking where the edge of the deck will go on the house. Make sure to take into consideration where the frame goes and what might be added to the frame. Fascia, handrail, and stairs are some examples of what could be added to the outside edge of the frame. Check the plans to determine these extras and mark where the frame will be.
Step 2: Mark the Edge of the Deck Frame
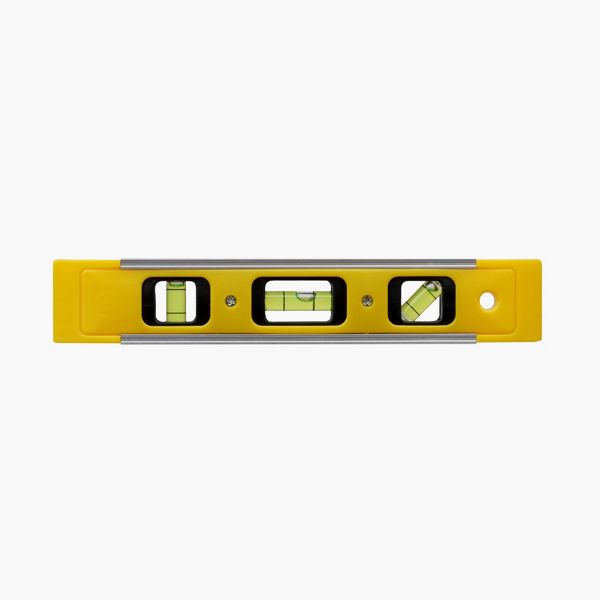
Using a level, plumb down from the mark that was made on the house. Mark against the house near the ground. This will show where the edge of the deck frame is on the ground. If the project is higher off the ground, a plumb bob with a string can be used. Hold the string against the mark and let the plumb bob hang near the ground. Mark the ground where the plumb bob is pointed.
Drive a stake into the ground at the mark made against the house.
Step 3: Create a String Outline for Your Deck Frame
Measure out from the house 1’ longer than the length of the deck. In this case, the deck is 14’ so 15’ was measured and marked on the ground. This line will be going the entire width of the deck. Side strings will be attached to this line. When these side strings are attached, they will pull against that front string. This will give flexibility in moving the side strings side to side to determine right angles. The actual front line of the deck will be installed later for a visual perspective.
Measure over approximately 1’ to the outside edge of the deck. Try to be as close to 90 degrees off the house so the edge of the deck can be visualized. The 1’ past accounts for the line not being exactly 90 degrees off the house. It can be more than 1’ but at least 1’ minimum. This makes the outside string line versatile to move side to side and be squared up with the house. Meaning the side strings will be at a 90-degree angle to the house.
Put the stake into the ground at this location.
Repeat this process on the other side of the deck. Tie a string from stake to stake and pull it tight.
Step 4: Add Slide Strings to Your String Outline for Your Deck Frame
Tie the side string to the front string and pull it tight to the stake placed at the house. When tying this string to the front make sure it is a loop so it can move side to side.
Pull the string tight and tie it off at the stake near the house.
Step 5: Use the 3, 4, 5 Method (Ideal for Smaller Decks)
Using the 3, 4, 5 method, we can determine a 90-degree angle off of the house where the edge of the deck will be. To use this method, measure 3 feet from the edge of the house, 4 feet away from the house and the measurement diagonally should be 5 feet. In this instance, a line will be used to measure 4 feet. Move the line on the 4 foot side in or out to line up with the 5 foot mark. Once the diagonal is at 5 feet there is a 90-degree angle at the house and the deck will be square with the face of the house.
Step 6: Use the 6, 8, 10 Method (Ideal for Larger Decks)
In this instance, a variance of the 3, 4, 5 was used. Double the numbers and it becomes the 6, 8, 10 method. This gives longer lines to be more accurate on larger decks. Measure 6’ from the edge of the stake that represents the end of the deck frame and mark the house.
Measure 8’ out from the house and mark the string line that represents the outside edge of the deck frame.
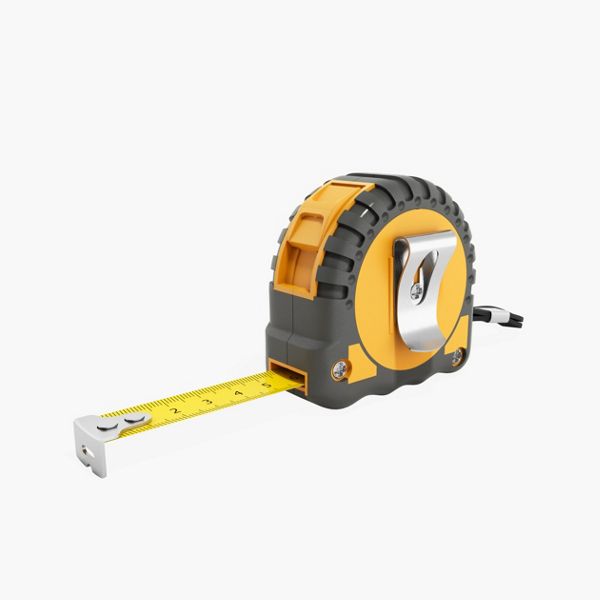
Measure the diagonal between the 6’ marked against the house and the 8’ marked away from the house. This should now measure 10’. Make sure to use the same side of the tape measure on each mark.
If the diagonal does not measure 10’ then the string line that represents the outside edge of the frame will need to be moved. Move it one way or the other until the diagonal measures 10. This may take a couple of movements to get it to the exact measurement. Make small moves and check the measurement often.
Once this is measured correctly then the side of the deck frame is laid out at a 90-degree angle to the house.
Repeat this process on the opposite side of the house where the deck will end. With this side completed the beams can be measured and staked.
Step 1: Mark Your Beam Placement
Measure from the house along the string line representing the outer edge of the deck. The measurement will be notated on the plans for the beam location. Mark this measurement on the string line.
Place a stake in the ground at this mark just outside the string line.
In the case of multiple beams, mark all beams on the one side.
Install stakes at these marked locations.
Measure and mark the beam locations on the opposite side of the house.
Attach a string line to the stakes. This will indicate where the beams will be located. Make sure to pull the string line tight so that it does not sag.
Step 2: Mark the Post Locations
Follow the dimensions on the plan and locate the first post from the edge of the deck frame. Sometimes this post will be on the very edge of the deck frame and sometimes it will be inside the edge of the deck frame. In this case, the post was located 1’ in from the edge of the deck frame. Remember to mark the center of the post location and not the edge of the post. In this case, the post is a 6x6 measuring 5 ½” wide. Measure 12” + 2 ¾” to find the center of the post.
The measurements for the post locations will be notated on the plans. Measure from the first post location on the string line to the second post location. Remember that the measurements are from the center of post to center of post. Mark this location on the string line.
Continue this process for all post locations. In the instance where there is an obstacle close to the post location, make sure the post location is far enough away from any obstacles to ensure that the footing does not hit the obstacle. In this case, the utility was more than 2’ away from the post location. Check with the local municipality for these distances.
At each location that was marked on the string line of the beam, use an upside-down marking paint to spray the ground. Spray straight down to the ground at each mark. This is the center of the footing location.
Step 3: Mark the Diameter of the Footing Hole
Mark the diameter of the hole to be dug. This diameter will be located on the plans. This size was determined when the deck was designed and needs to be dug correctly as the inspector will measure the holes at the time of the footing inspection. A tape measure can be used to measure the diameter or, if the size of the hole can be matched up with a forming tube, the forming tube can be used. In this case, the hole needed a diameter of 12” and the forming tube matched that size. Spray the hole size desired on the ground.
Repeat this process at all post locations. Now the hole locations have all been marked and are ready to dig.
This content was partially or fully generated by AI and has been reviewed by our team to ensure accuracy and relevance.


