- 01: Features and Benefits →
- 02: Fastening Trex® Fascia with the Trex Hideaway® Color-match Composite Fascia Screws →
Composite Fascia Screws
- Efficient Drive: STICK-TIGHT® technology with tri-lobe shank ensures consistent adherence and smoother drives into dense boards
- Clean Drive: Sharp upper threads expertly clear away debris
- UV Protection: Equipped with top-tier UV inhibitors to safeguard against sun damage
- Guided Installation: Color-coded equipment for quick, intuitive setup
- Minimized Distortion: Precision machine slot cut ensures a clean drive and board integrity
- Reliable Fit: Advanced Phillips HEXSTIX® Drive System offers unmatched tightness and reliability
Counterbore Tool
- Color-Coded Precision: Distinct red for screw-specific fastening differentiates from plug-specific counterbore
- Optimal Design: Durable, forged spade with rotating wing for optimal cuts
- Material Integrity: Preserves material while ensuring efficient removal
- Easy Pre-Drilling: Designed for a discreet and seamless look
Warranty
Backed by the same warranty as Trex® fascia boards they are used in.
Step 1: Trim Fascia Ends
Trex® fascia boards are designed slightly longer than 12 feet to allow space to trim the factory-cut ends. Trim these ends to ensure an even edge on your board before determining your fastener placement.
Step 2: Fastener Placement Guidelines
Follow these guidelines for optimal performance when using Trex Hideaway® Color-match Fascia Screws:
- Screws at board ends should be placed 1 inch from the end.
- Screws along the edges should be placed 1 inch from the edge of the rim joist.
- Screws in the field of the board should align vertically and be spaced no more than 18 inches in the center.
- For 8-inch fascia, use two screws at the ends and in the field.
- For 12-inch fascia, use three screws at the ends and in the field.
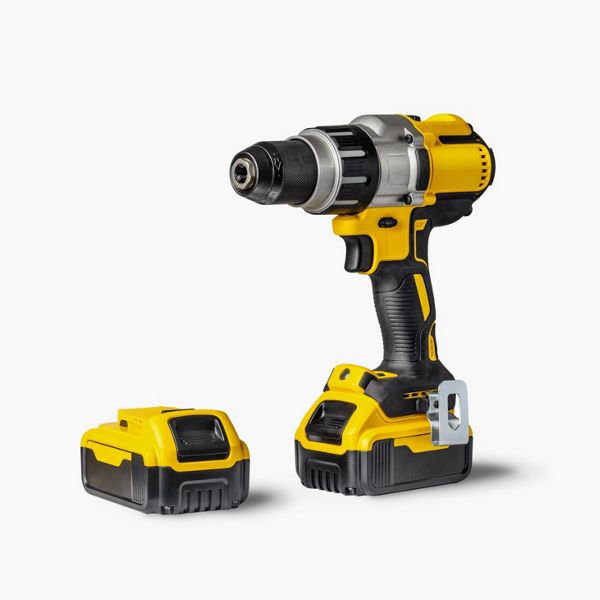
Step 3: Use the Counterbore Tool Kit to Pre-drill the Holes for your Fasteners
Place the tip of the counterbore tool at your mark and at a 90-degree angle to the face of the board.
In one continuous motion, drill until the counterbore cup stops spinning, then remove the bit.
Ensure to remove any debris or water from the counterbore hole to allow the fascia screw head to sit flush with the board's surface. Do not swipe your hand across the hole, as this will push debris into the hole and create an uneven surface for your fastener to sit on.
Step 4: Clamping the Fascia
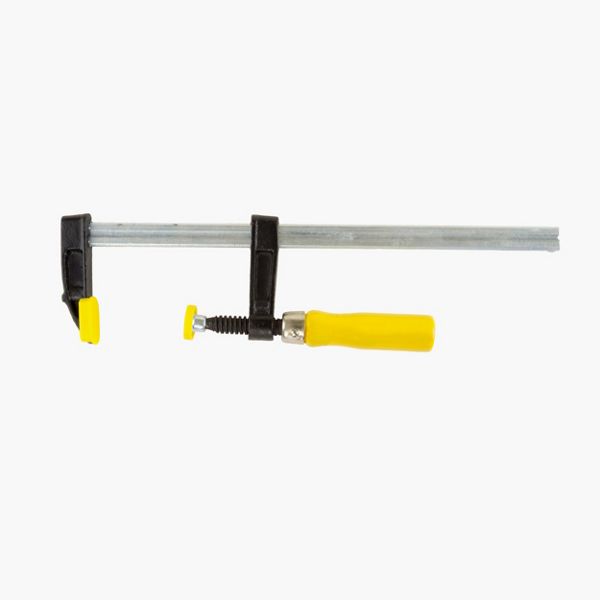
Whether installing the fascia over optional spacers or directly to the rim joist, begin by clamping the fascia in position so you can work hands-free.
Step 5: Driving the Screws
Use the red HEXSTIX drive bit at a 90-degree angle to drive the screw snugly into the counterbored hole.
Remember, Trex Hideaway fascia screws are designed to "float" the fascia on the rim joist. Avoid overtightening to allow the fascia to float properly.
This content was partially or fully generated by AI and has been reviewed by our team to ensure accuracy and relevance.

